This is going to be a painful post for anyone who doesn't care about photography or processing - you better look away now- but for those interested this might be a helpful guide. Visual Supply Co (VSCO) have released their fourth set of presets (slide film) and I bit the bullet and bought it.
Presets for those not in the know are photo enhancing processes run over a photo with a click of a button (magical!). I use the program Lightroom (LR) to run my presets :) I currently own the first ever edits VSCO brought out, number 01 (modern film) which are all about emulating the film look of today's negative films. I should stop and say that I know how silly it sounds to shoot with digital and then try and re-create the film look but hey, film is awesome so it makes sense to want to copy it and sometimes digital is just cheaper/easier :P Don't worry I still believe in film and it's my goal for the rest of the year to shoot a tone of it :) I've also got lots of film photos coming up to share too!
(because I have 177 photos to show -all of the same thing - I'm going to save your eyes and stick it behind a cut for the truly keen, you can thank me later!)
SO I've been using 01 for over a year now and in that time VSCO released 02 (classic films - expired or discontinued film) and 03 (instant films). I didn't buy either of those for the simple reason that I found VSCO 01 already too over processed and I had a feeling the 02 and 03 would be even worse. Now I do love 01 but I've had to tone down all those presets a lot, spending hours and hours fiddling around with settings to get a look I'm happy with. I know a lot of photographers use the presets just as they are but I find the grain and colours not right for myself.
Now when I saw VSCO had released number 04, slide film, I got a little bit excited. It seemed to fit more in with what I love about film, vibrant colours! I'm glad I made the purchase, $119 isn't the cheapest (although they give great discounts if you've already made purchases before) but I feel with these presets I can use them as they are designed - just click a button. I still like to fiddle with my photos, I actually take them back into photoshop after LR to play around with but I appreciate anything that speeds processing up! So what can you expect with no. 04? 117 presets in total, nine are b&w and the rest colour, plus some extra tones....woah! That's really way too many and the OCD in me cringed when I found that out.
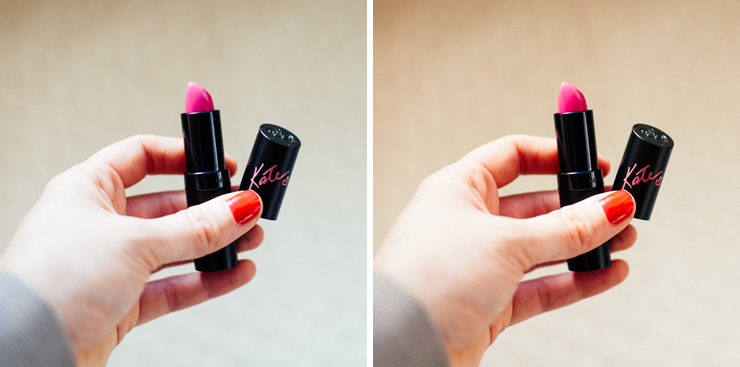
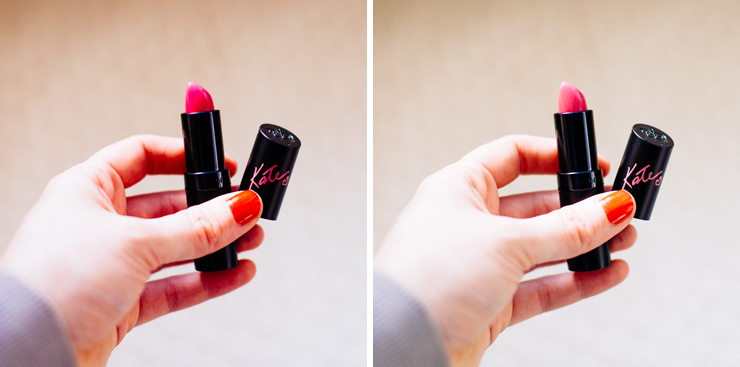
I decided to try and organise myself by running one photo through each preset so I'd have myself a guide. LR is hideous for scrolling through presets so I also made myself a "favourites folder" in LR which seems to have made life easier. My guide is literally only a guide, every photo is going to react slightly differently to a preset but it does give you some idea. There was a bunch of presets not to my liking (too much contrast, over-saturated, crazy tones) which seems inevitably with 117 presets but on a whole, definitely a big thumbs up from me :) I hope this helps someone if they're sitting on the fence. By the way, I wish VSCO would make there site a little less arty/simple and little more user friendly. I find myself having to use google search to bring up any inquiry (okay that's my only whinge!) Enjoy scrolling through the 177 presets below. They actually all look quite similar at the small size but I think this is testament to their lack of crazyness :P
Before we start....
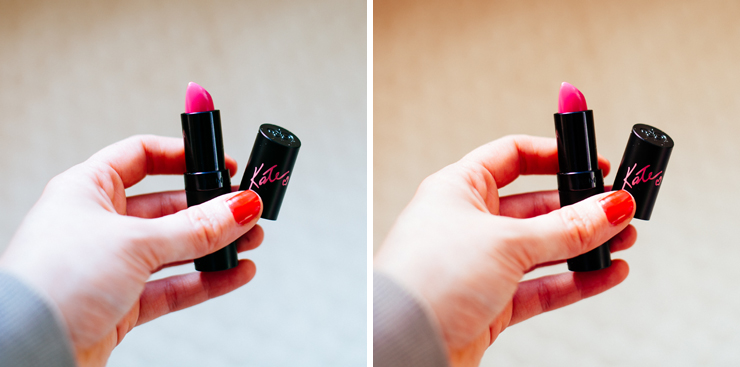
The original photo on the left with no editing and The Preset I ended up choosing (Kodak E100VS) on the right
Agfa Scala 200 (B&W presets)
 |
| Agfa Scala 200 / Agfa Scala 200- / Agfa Scala 200-- |
 |
| Agfa Scala 200 -/+ / Agfa Scala 200 + / Agfa Scala 200 ++ |
 |
| Agfa Scala 200 Contrast + / Agfa Scala 200 Contrast ++ / Agfa Scala 200 Contrast +++ |
note: not overly fussed on the b&w's, to be honest apart from the contrast ones there isn't much to differentiate them from one another. I do LOVE LOVE the b&w presets in the VSCO 01 as I don't mind a bit (or a lot) of grain when it comes to my black and whites :)
Fuji Astia 100F
 |
| Fuji Astia 100F / Fuji Astia 100F- / Fuji Astia 100F-- |
 |
| Fuji Astia 100F + / Fuji Astia 100F ++ / Fuji Astia 100F Balance Cool |
 |
| Fuji Astia 100F Balance Warm / Fuji Astia 100F HC / Fuji Astia 100F Portrait |
Note: I love the Fuji Astia set after having selected 22 favourites out of the 172 presets, Fuji Astia managed to get 5 in there! I think because they're bright, have a slight contrast and nice but subtle tones
Fuji Fortia SP
 |
| Fuji Fortia SP / Fuji Fortia SP- / Fuji Fortia SP-- |
 |
| Fuji Fortia SP + / Fuji Fortia SP ++ / Fuji Fortia SP +++ |
 |
| Fuji Fortia SP Balance Cool / Fuji Fortia SP Balance Warm / Fuji Fortia SP Landscape / Fuji Fortia SP Portrait |
Note: Fuji Fortia SP was a bit too over processed for me personally but a couple made it into my favourites folder :)
Fuji Provia 100F
 |
| Fuji Provia 100F / Fuji Provia 100F- / Fuji Provia 100F-- |
 |
| Fuji Provia 100F+ / Fuji Provia 100F++ / Fuji Provia 100F+++ / Fuji Provia 100F++++ |
 |
| Fuji Provia 100F Balance Cool / Fuji Provia 100F Balance Warm / Fuji Provia 100F HC / Fuji Provia 100F Portrait |
Note: I found Fuji Provia has some nice vintage tones, not overly my cup of tea
Fuji Provia 400X
 |
| Fuji Provia 400X / Fuji Provia 400- / Fuji Provia 400-- |
 |
| Fuji Provia 400X+ / Fuji Provia 400++ / Fuji Provia 400+++ |
 |
| Fuji Provia 400 HC / Fuji Provia 400 HC+ / Fuji Provia 400 HC ++ |
 |
| Fuji Provia 400 Balance Cool / Fuji Provia 400 Balance Warm / Fuji Provia 400 Portrait / Fuji Provia 400 Vibrant |
Note: Out of all those from Fuji Provia 400, I think I choose one in my favourite's list, I found them quite heavy on the tone and contrast
Fuji Velvia 50
 |
| Fuji Velvia 50 / Fuji Velvia 50- / Fuji Velvia 50-- |
 |
| Fuji Velvia 50+ / Fuji Velvia 50++ / Fuji Velvia 50+++ |
 |
| Fuji Velvia 50 Balance Cool / Fuji Velvia 50 Balance Warm |
 |
| Fuji Velvia 50 HC / Fuji Velvia 50 Landscape / Fuji Velvia 50 Landscape ++ |
Note: Out of all the different film types I found Fuji Velvia 50 to be the silliest :P
Fuji Velvia 100
 |
| Fuji Velvia 100 / Fuji Velvia 100- / Fuji Velvia 100-- |
 |
| Fuji Velvia 100+ / Fuji Velvia 100++ / Fuji Velvia 100+++ |
 |
| Fuji Velvia 100 Balance Cool / Fuji Velvia 100 Balance Warm / Fuji Velvia 100 HC / Fuji Velvia 100 Landscape |
Note: if I want to add some kawaii tones to my photos this is the preset I'll pick! Fuji Velvia 100 also has some nice contrasts
Fuji Velvia 100F
 |
| Fuji Velvia 100F / Fuji Velvia 100F- / Fuji Velvia 100F-- |
 |
| Fuji Velvia 100F+ / Fuji Velvia 100F++ / Fuji Velvia 100F+++ |
 |
| Fuji Velvia 100F Balance Cool / Fuji Velvia Balance Warm / Fuji Velvia 100F HC |
Note: Fuji Velvia 100F is similiar to Fuji Velvia 100 and I quite like both :)
Kodak E100G
 |
| Kodak E100G / Kodak E100G- / Kodak E100G-- |
 |
| Kodak E100G+ / Kodak E100G++ / Kodak E100G+ |
 |
| Kodak E100G Balance Cool / Kodak E100G Balance Warm |
 |
| Kodak E100G HC / Kodak E100G Portrait / Kodak E100G Vibrant |
Note: The Kodak film presets make up a third of my favourites and have some really nice tones that I can see myself using a lot :)
Kodak E100VS
 |
| Kodak E100VS / Kodak E100VS- / Kodak E100VS-- |
 |
| Kodak E100VS+ / Kodak E100VS++ / Kodak E100VS+++ |
 |
| Kodak E100VS Balance Cool / Kodak E100VS Balance Warm / Kodak E100VS Balance Warm+ |
 |
| Kodak E100VS Portrait / Kodak E100VS Landscape |
Note: I'm just going to say one word, pretty! Actually I should also point out that KODAK E100VS- was the one I ended up going with for my edit :)
Kodak E200
 |
| Kodak E200 / Kodak E200- / Kodak E200-- |
 |
| Kodak E200+ / Kodak E200++ / Kodak E200++ (alt) / Kodak E200+++ |
 |
| Kodak E200 Balance Cool / Kodak E200 Balance Warm |
 |
| Kodak E200 HC/ Kodak E200 Portrait / Kodak E200 Vibrant |
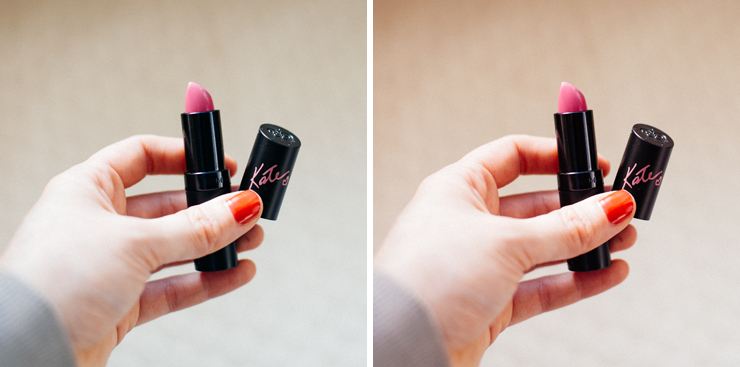
WOAH! That was way too many pictures of lipsticks, I guess I should finish by saying that lipstick is actually awesome, you can pick it up at any place that sells cheapo cosmetics-it's a rimmel lipstick called "lasting finish by kate no. 20" I dunno about the lasting bit, maybe 3 hours max but it's super vibrant and makes me happy when I wear it!


fantastic;)
ReplyDeleteLove
Minnja
Minnja Blog
Minnja on Facebook
Uau Fee, you are a very organized and generous to offer so much tips and help with this!
ReplyDeletei feel kind of lazy and only know how to shoot and them remove dust from photoshop ahaha <3
You could be a teacher :)
p.s. i don't put on lipstick because i always end up looking like a drag queen 0_o
ReplyDeletelol lol at the drag queen comment!
ReplyDeleteI thought it would be nice because I know myself I looked around for information/examples before making the purchase. It always helps to have more info, especially when the purchase is quite substantial (well to me anyway!) lol
By the way you're one step ahead of all us silly digital peeps, with your film Sara :)
I've heard such wonderful things about VSCO, I might have to bite the bullet as you put it and get it. Great post!
ReplyDeleteI do feel VSCO wont appeal to everyone but I'm happy with my purchase :) 04 seems great so far if you want to give your photos that bit of extra contrast or colour :)
ReplyDeleteI am really embarrassed to say this, but I have LR and have no clue how to use it! I am completely technologically challenged and only manage to use PS by using presets I bought from Etsy on my photos. Your photos all look so amazing, I really wish I could get my head around how to install these programs and actually use them :P
ReplyDeleteOh no it is pretty easy once you've got down the basics, I actually think LR isn't completely user friendly, not when you're first starting! I'll try and help out a bit :)
ReplyDeleteQUICK started LR guide!! (he he)
*You need to pay attention to the top right tabs "library" and "develop" that's all I use :)
first: click on the library tab (or the program should open in this mode anyway) you'll see "import/export" down the bottom left (these are very important!) click on "import" and search for the locations of the photos you want to edit(I keep mine in 'my pictures')
Second: once the photos pop up in the middle section, click "develop" this is where you will find your presets (left hand side) and all your colour sliders and contrast/brightness etc. over on the right.
third: VSCO works that after you download it they give you a file and it's actually super simple, you open the set up file which automatically installs into LR. (this took me a while to figure out) the presets magically pop up in the presets area! Magic :)
Fourth: after editing your photos, you go back to "library" and "export" your photos. There are a bunch of options, including size, naming, folder you want them saved into. you have to play around a bit :)
*LR requires a bit of time to learn all the editing choices (heaps of them) but once you've edited a few rounds of photos it becomes second nature - I actually find it easier than photoshop :)
I hope this has helped somewhat!
I use VSCO when I'm bothered, but their presets are really lovely. Do you have a VSCO Grid?
ReplyDeleteno I don't have VSCO grid, I'm behind on the iphone train :( I need to catch up!
ReplyDelete