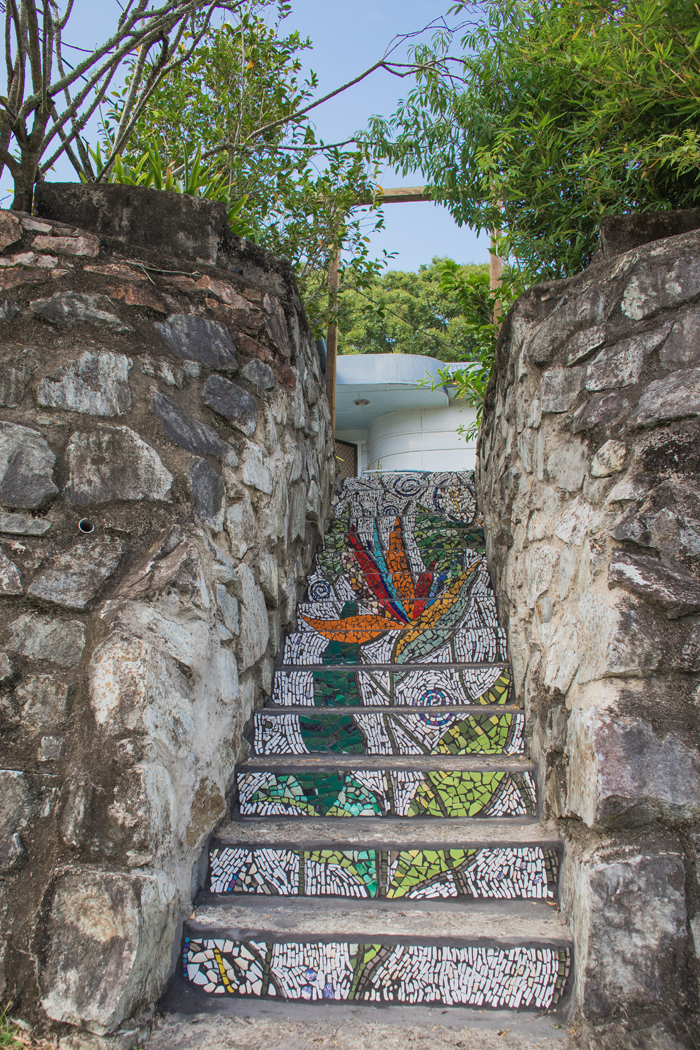
A month or so back we finally completed our mosaic staircase. It was a BIG project. I don't think we realised just how big until we dove headfirst in. Huge thanks to Ben's cousin Carmen (the mosaic queen!) who set us up in the beginning stage and gave us that much-needed momentum to get the project off the ground.

Our house was taken over by bowls and jars (and whatever else we could find) to house all our tiny bits of ceramic pieces.
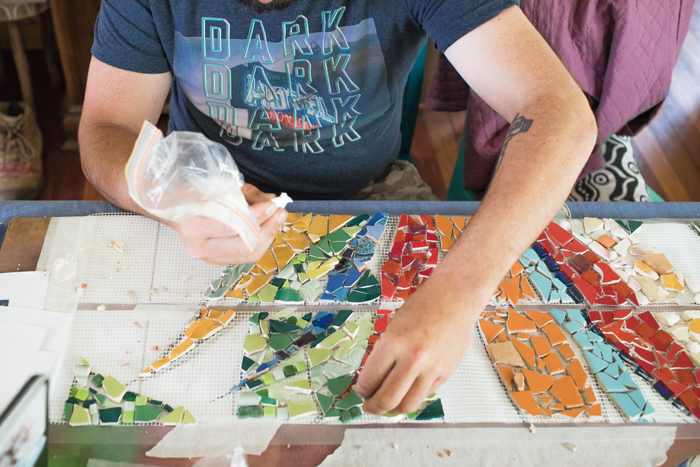
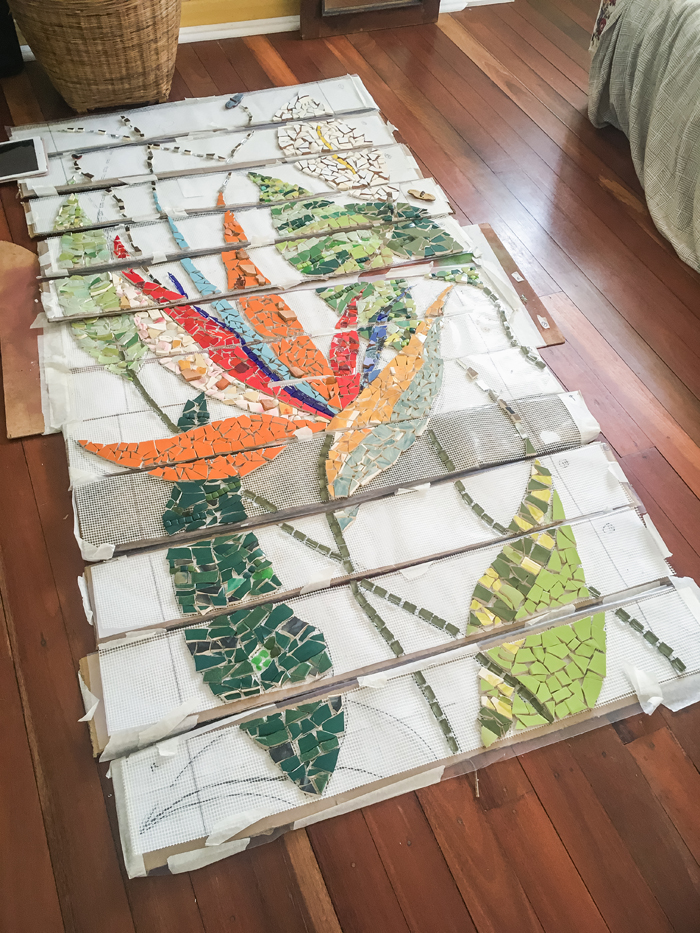
We worked in panels (14 in total) which made the project less daunting and felt good as we started to tick panels off, one by one.

We spent most evenings cutting, arranging and gluing.
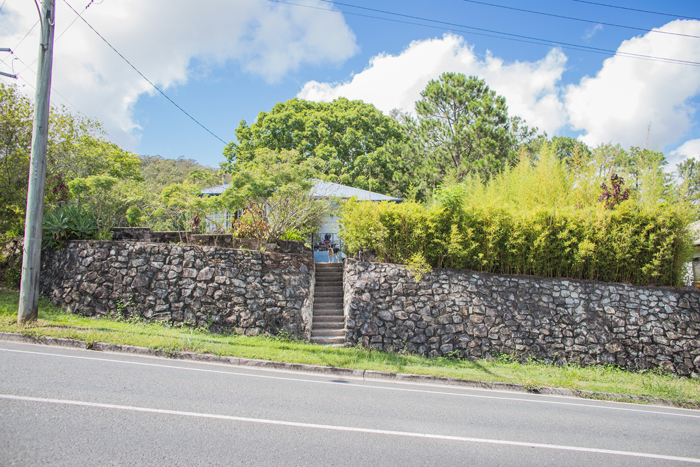
Here is the front of our place, pre-mosaic install!
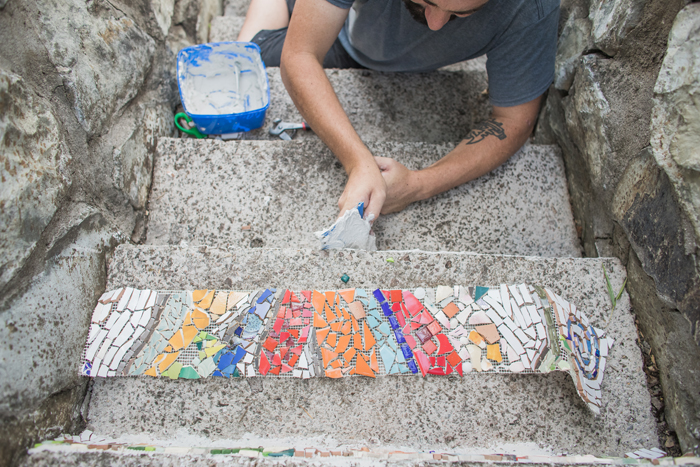
With the panels completed, it was then a few days of adhering them to the stairs.

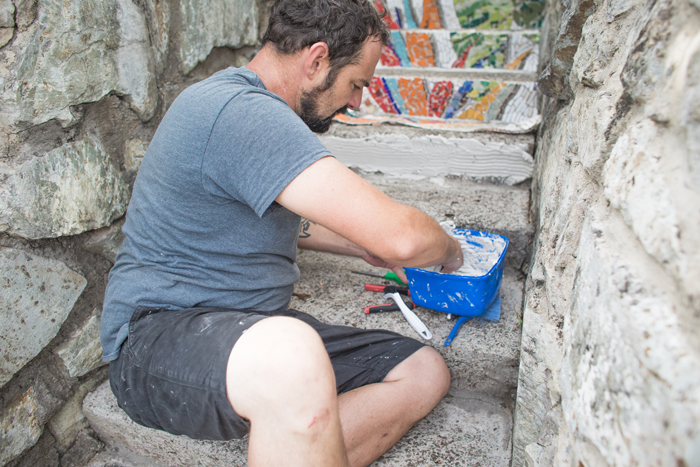

Learning as we go!
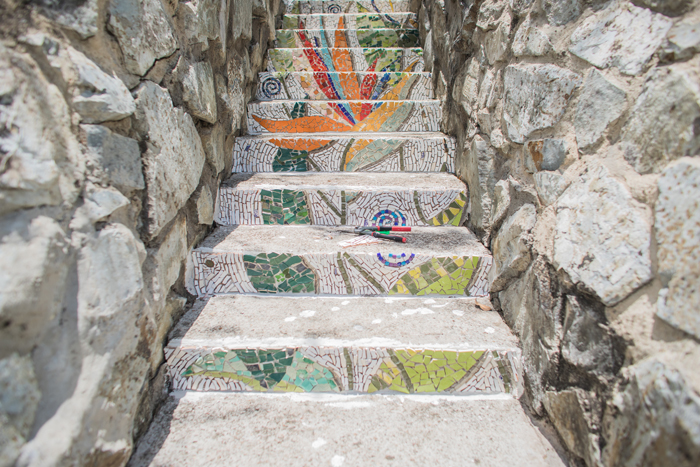
Looking pretty good!

Once we'd finished gluing the panels on it felt amazing, actually, it felt like we had finished but we still needed to grout the staircase (another big job!).
Grouting was done over 3 days and it was tricky to time it with sunny days (we had a lot of rainy days between adhering the panels and then to the grouting stage). The colour of grout came down to not wanting to show dirt and grime as it aged, so we decided on black. The grouting process involved, mixing the grout, layering it on thick, and then wiping back. I layered and wiped back and Ben mixed and did the much-needed process of running back and forth with clean sponges and water for me. You have less than 30 minutes before the grout sets so you have to move super quick and it's quite stressful because once you smear the grout all over your beautiful mosaics there's a scary moment when everything looks completely destroyed.
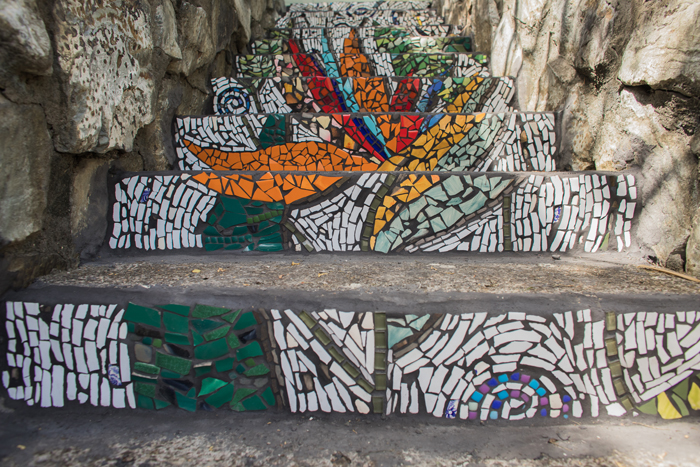
Soooooooo proud to have it finished and step back and admire our hard work.

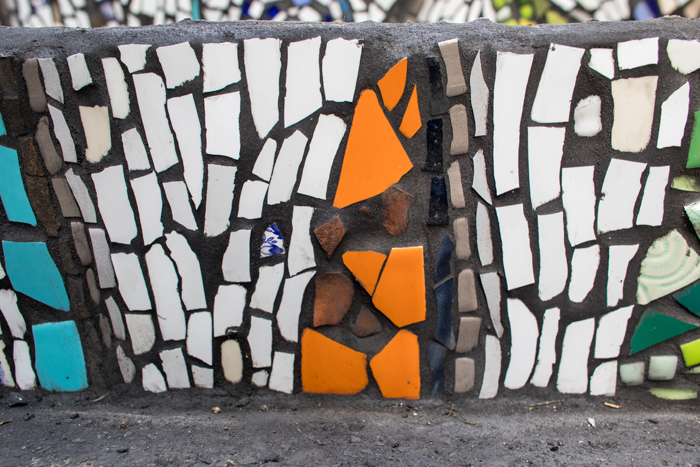
Above is a signature of sorts. When Ben and our first got together we had monthly art challenges. One of them was to draw a blue willow plate reimagined, so I included the little people from a plate to represent Ben and myself.
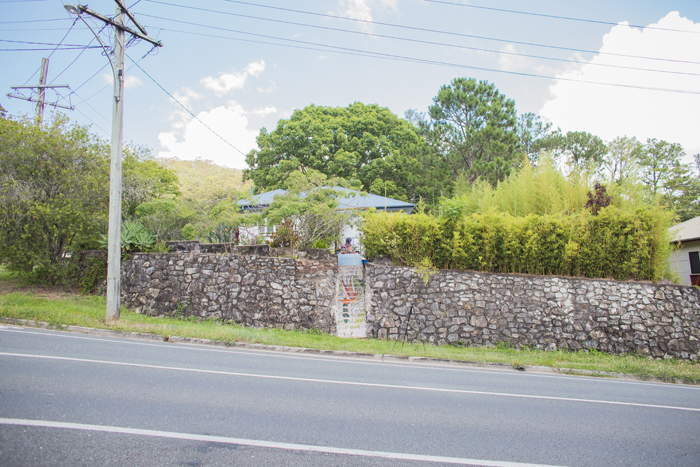
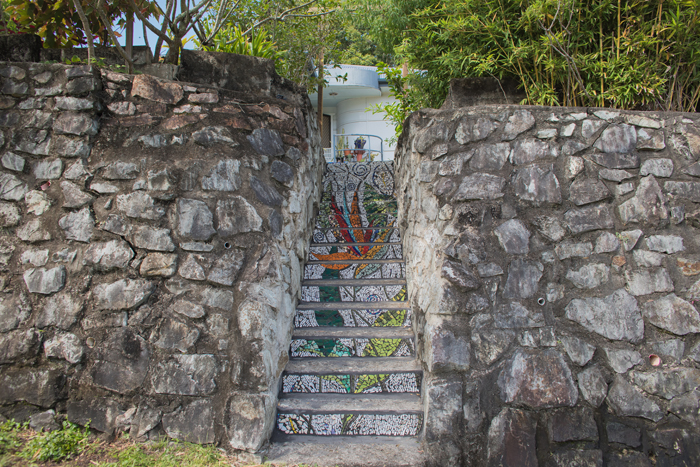
The long view

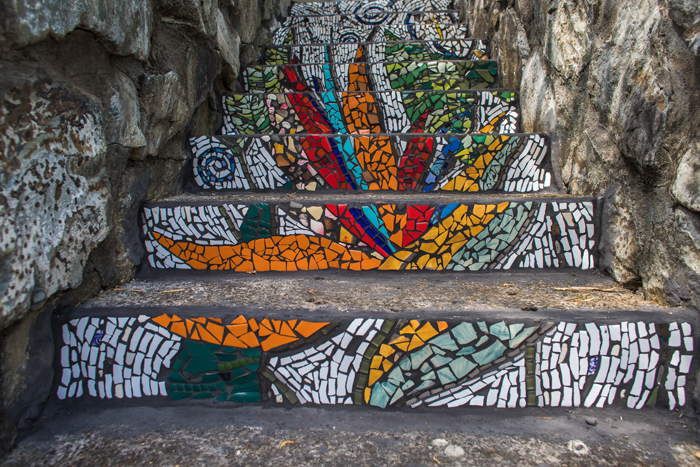
We had an old couple walk by and tell us how lovely it was as we were doing the install. Our town gets to see the mosaic more than we do since it faces outwards so I'm glad we could add some street art/colour to it :)

No comments:
Post a Comment
If you would like to be notified of further replies click the "notify me" box (in the bottom right hand corner)