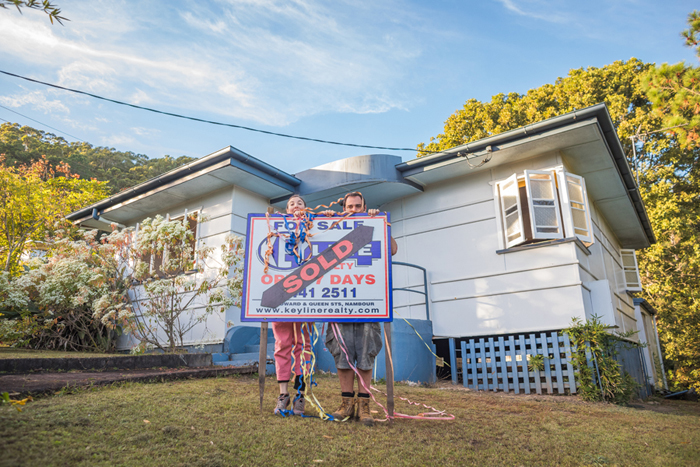
Last June we picked up our keys. It was dark by the time I finished work and with no power on, we bought over a hurricane lantern and sat in our soon-to-be lounge. When we signed our papers, we saw, photos of new buyers cheer-sing with wine and cheese. We wondered if we'd be gifted the celebratory pack. We were! Ben handed me the goody bag and I spied vegan cheeses inside, wondering how the heck they figured that one out.
Ben had actually gone and bought them for me. He's always doing that extra step, even when life is chaotic. We munched on
our goodies and I popped the bubbly, flying the cork into our new walls. I thanked dad and got tipsy and it mirrored the moment I'd dreamt about.
I've since amassed quite a few photos but I thought it would be nice to show the photos I first took, the house as-is before we started to rip things out :P
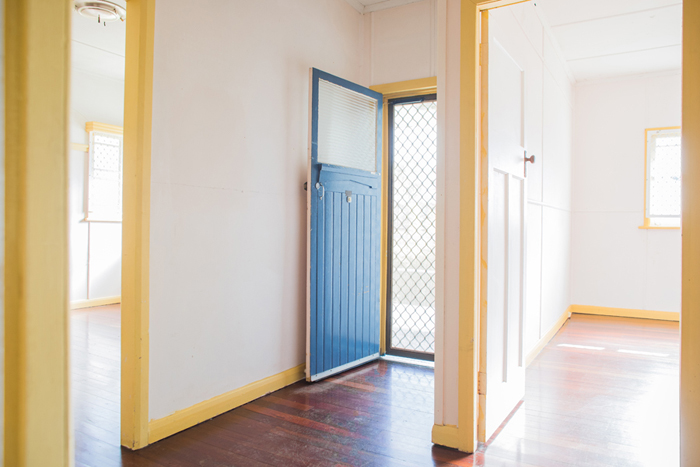
We call that blue door above, our back entrance. It's actually the front door, the one you'd see behind us, in the first photo. We don't use it as our main entrance though, hence its back door name.

When you walk through the backdoor, there's a hallway running down the entire house ending at the kitchen. To the left, is our main bedroom and in the photo you can just peer into the second bedroom. Over on the right, are the lounge and dining rooms.

The entrance to the main bedroom.
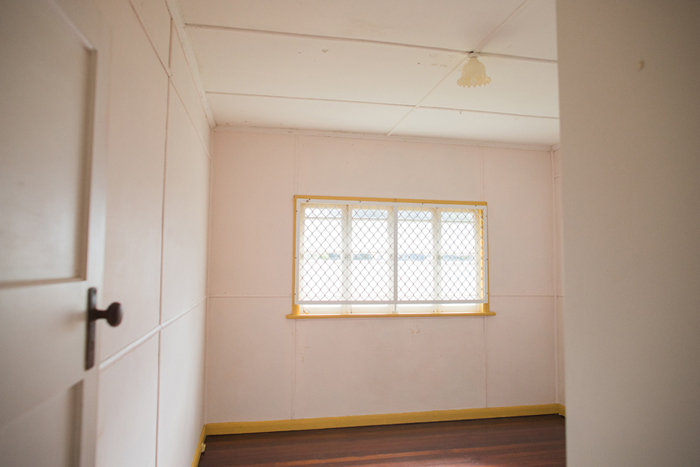
The pink walls and yellow trim live throughout and will eventually be replaced by a coat of white and loads of colourful art.
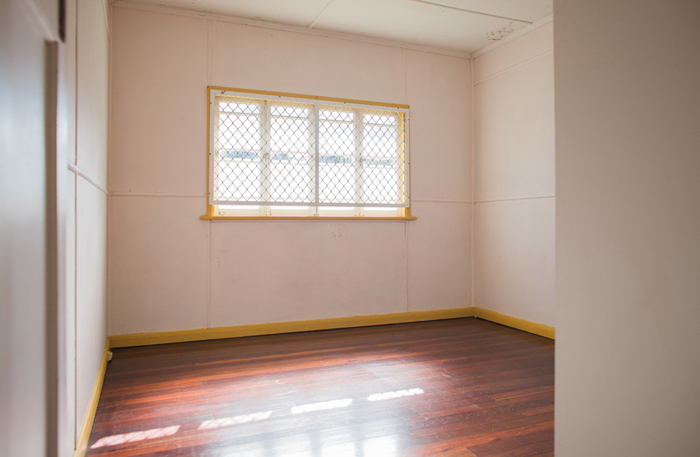
It's a lovely sized room - we can easily fit in our queen bed, wardrobe and my desk with plenty of space left over.
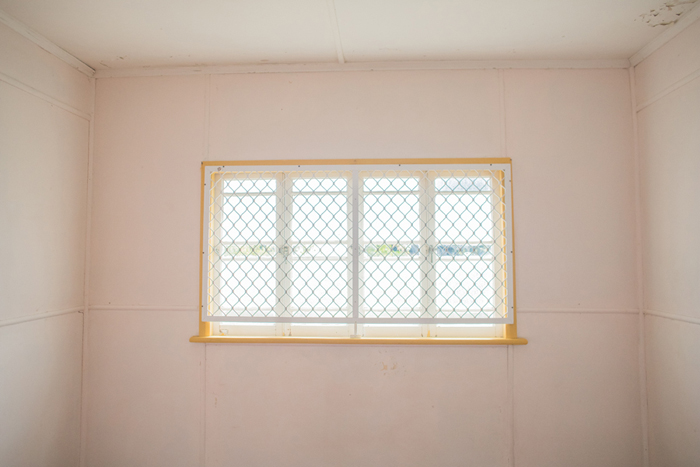
All the windows were covered in ugly security screens so they were the first things we removed.

My pink wardrobe fits nicely between the two windows
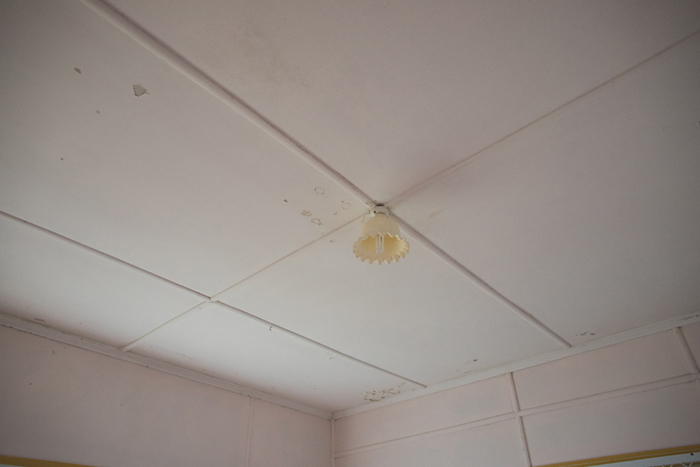
I've already replaced that light with a woven cane shade. Shade swapping wasn't a priority (probably should have painted the roof first) but when Ben asked if I needed any electrician work done, by his mate, I put my hand up quickly.

That wardrobe (although useful) is gone. It was a cheapo, chipboard, monster that had soaked up some moisture and was not in the best shape.

Not the prettiest!

This shot shows you a peak into the second bedroom and back to the hallway.
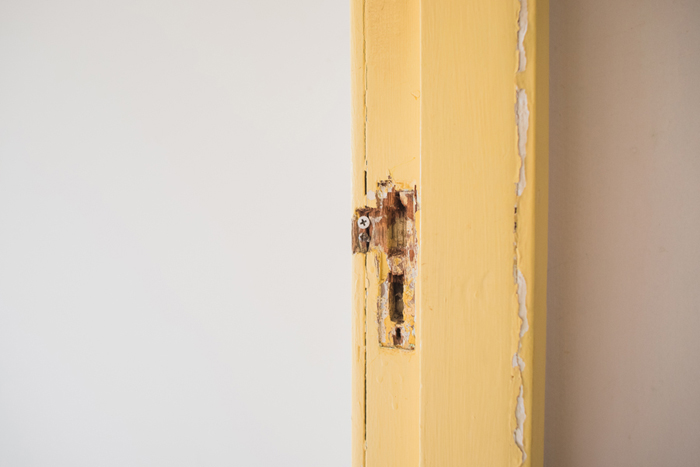
Note to self: doorway to fix.
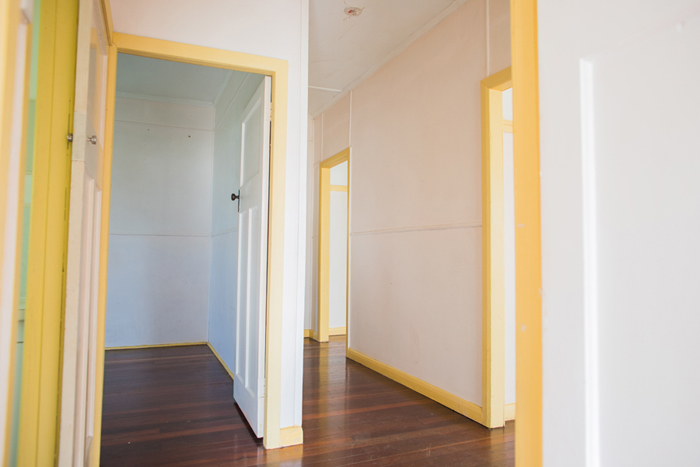
Exiting the main bedroom into the second bedroom
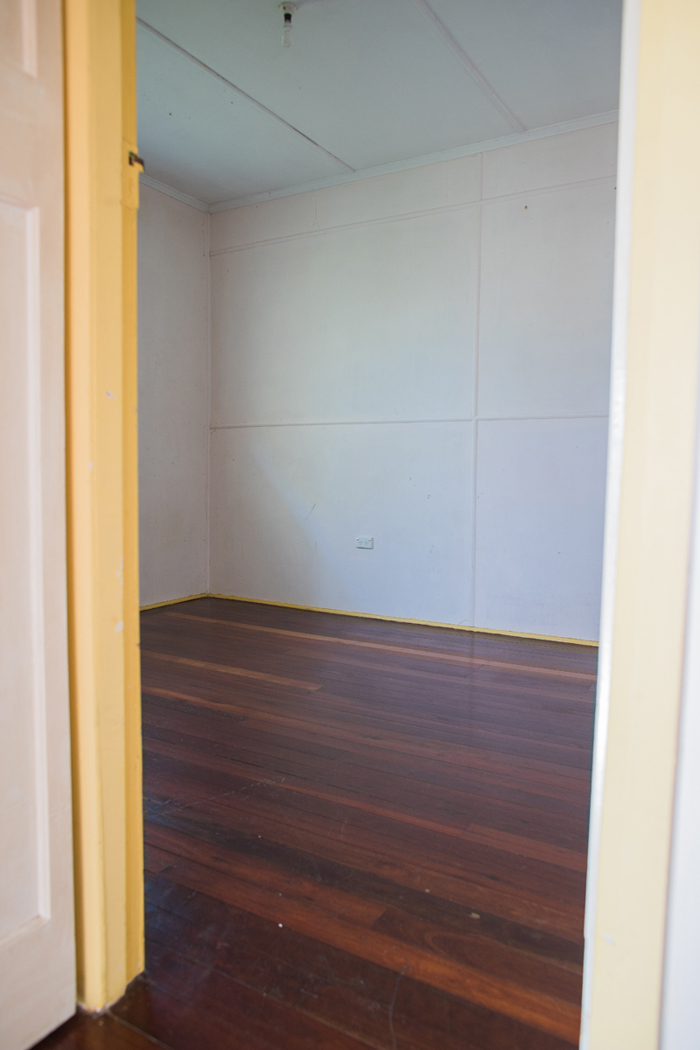
The floors in here were in the best condition. When we inspected the house it was tenanted. The tenant had filled this room with car parts (hoarder style) so we weren't able to truly see it until we got our keys.

The second bedroom is smaller than the main. Ben uses it to store his art and desk and clothing.

Exiting the room.

and into the bathroom which lives between the two bedrooms.

We take a break from the pink and hit up the green hues - it's the space I'm most keen to reno.

It's definitely on the small side.
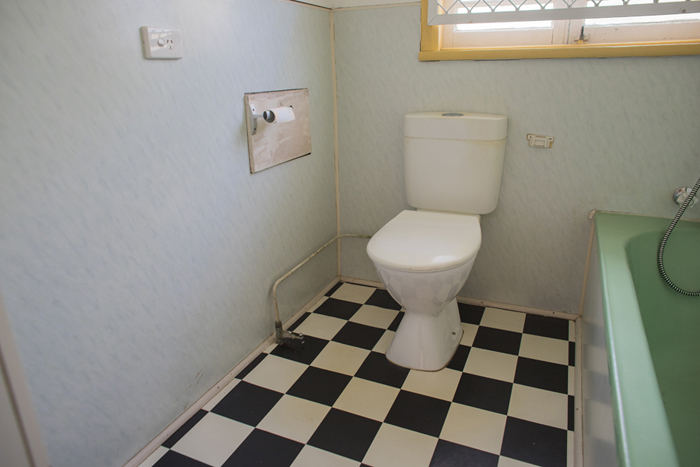
with a toilet in an odd position.
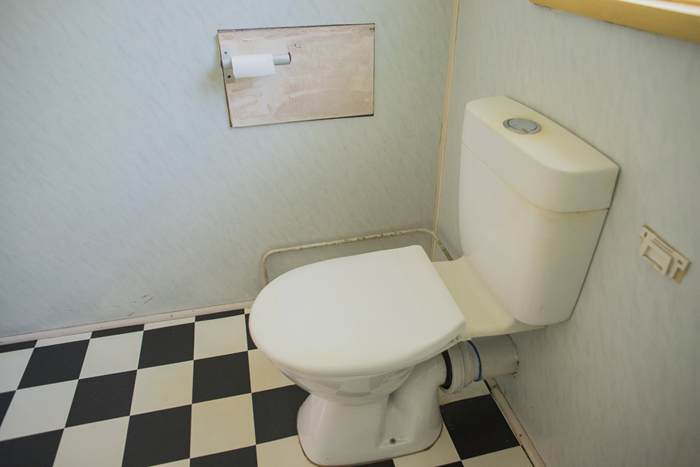
That piece of wood, behind the toilet roll holder, exists because it's where the toilet used to be positioned. There's an old sceptic tank outside (that's no longer used after the house became connected to mains sewage, decades ago). We have plans to turn the concrete sceptic box into a lily pond. Ben's Mum already has a beautiful deep burgundy lily ready for us to put in!
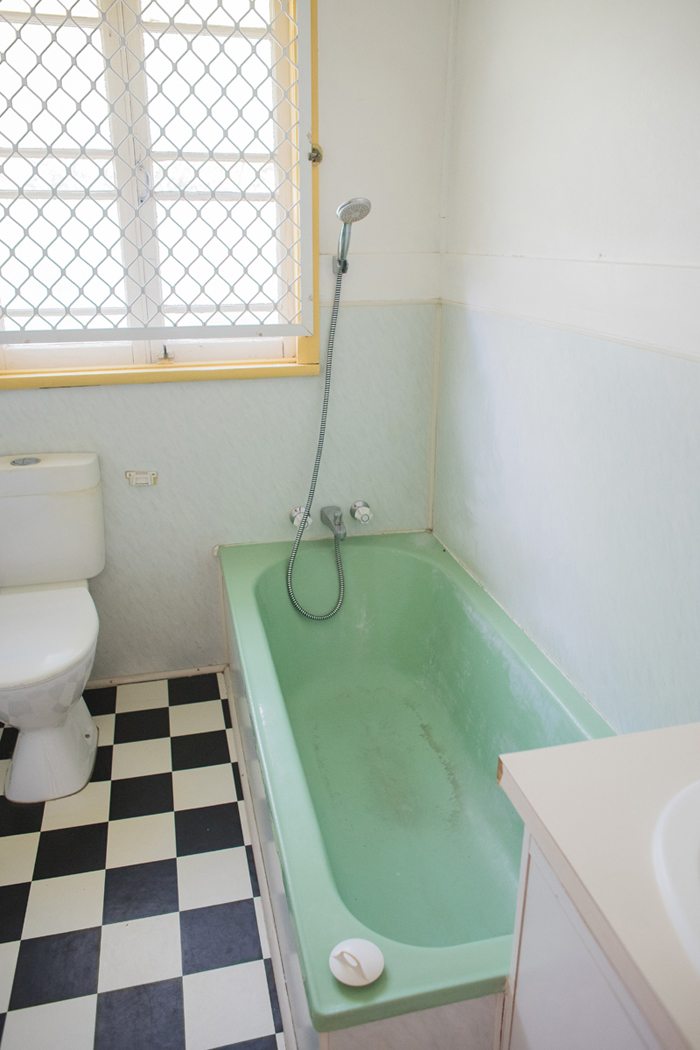
The bath is a crazy colour but it's a really great shape. I can stretch out fully and is actually the most lovely bath I've ever soaked in. It looks a little grimy in the photo above, but I gave it a solid clean before using it. That checkerboard lino was one of the first things to go (after the security screens). Underneath the lino was a super gross scene that you don't want the details of, promise!

The other crazy element of this bathroom is that shower. If I'm standing in the bath it hits mid-rib height. Still very confused why the tenant didn't complain about this. For the first few weeks Ben and I either had to hand-hold the shower head above us or sit in the bath to shower (or have loads of baths). Ben managed to eventually rig it up higher but it will need replacing in the future. I also had to construct a crazy back curtain to avoid the water splash-back soaking into the window frame. Very odd placement!

Looking back out.
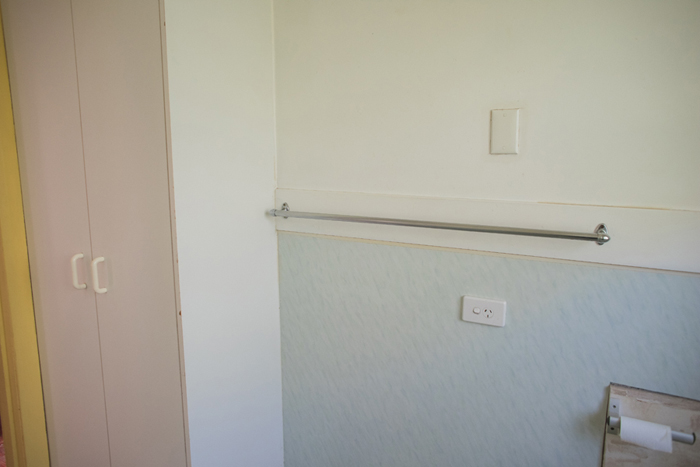
We also removed the cupboard, again just a gross chipboard monster.

If you walked directly backwards from the bathroom you'll hit the lounge.

This side of the house is divided into two spaces. The lounge and the dining room (which is where I'm standing to take the above photo).

Our first major project was re-sanding and varnishing the floors so it's already fun to look back and see the improvement.


You can spy a gap in the skirting board up top which is part of the termite damaged section and something we knew about before signing the papers.
I spent a good few hours, up on a ladder, tapping all the skirting/architraves/thingy-ma-jibs with a hammer to see what needed replacing. There's a large section in the lounge and also in the main bedroom which we've already started repairing.

One of the nice features of the home is this round panelling to break up the box-ness of the house.
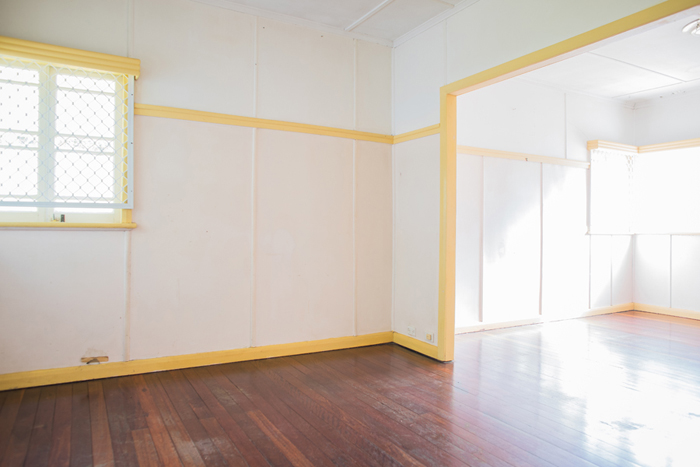
This is the shot from the dining room, out into the lounge. They are very similar rooms, the lounge is just a littler larger and has that curve.
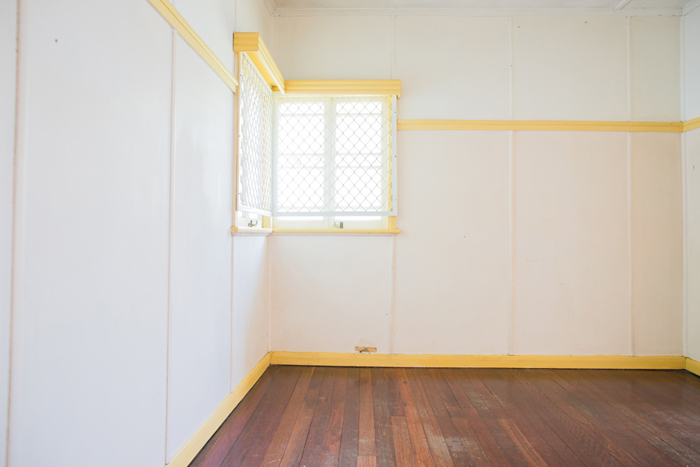
The dining room.

Note to self: hole to be fixed!

The white-yellow-pink combo in full force with the door leading out from the dining room back to the hallway.

This shot is taken after stepping out from the dinning room, into the hallway and looking towards the backdoor.

If you spin around, you'll point yourself at the kitchen (the second big thing on my reno to-do list).
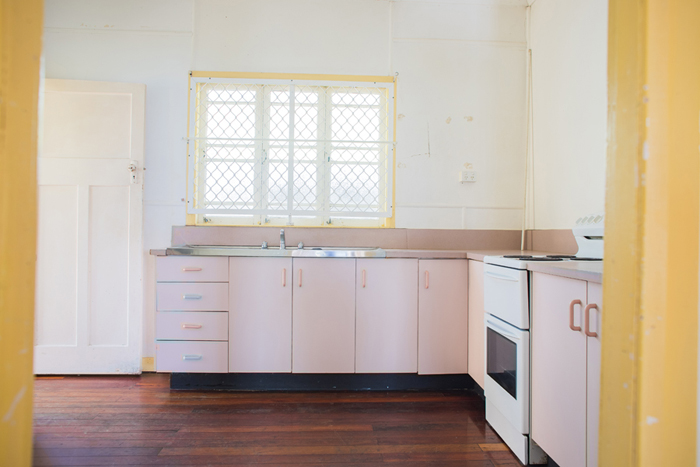
Eventually I'd love to replace the cupboards, benches, sink and taps.
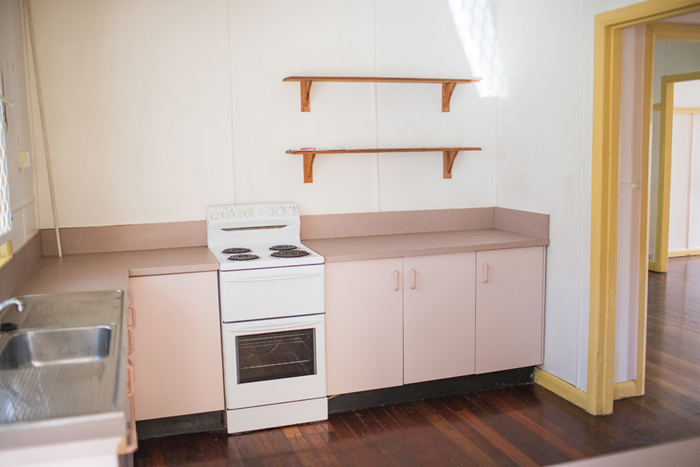
I'd also love to put in a huge window here. It's a weird space. It's quite dark and it feels like it needs to be opened up more (minus a costly extension).
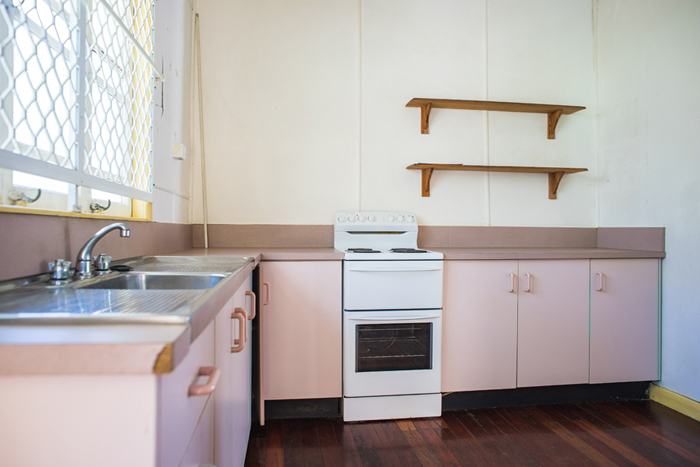
Those shelves will go when the window is put in but there's space on the opposite wall (where I'm standing to take this photo) to put loads of storage.


Note to self: fix huge crack in kitchen!

Quite hard to see in the photos but this house has lovely high ceilings.
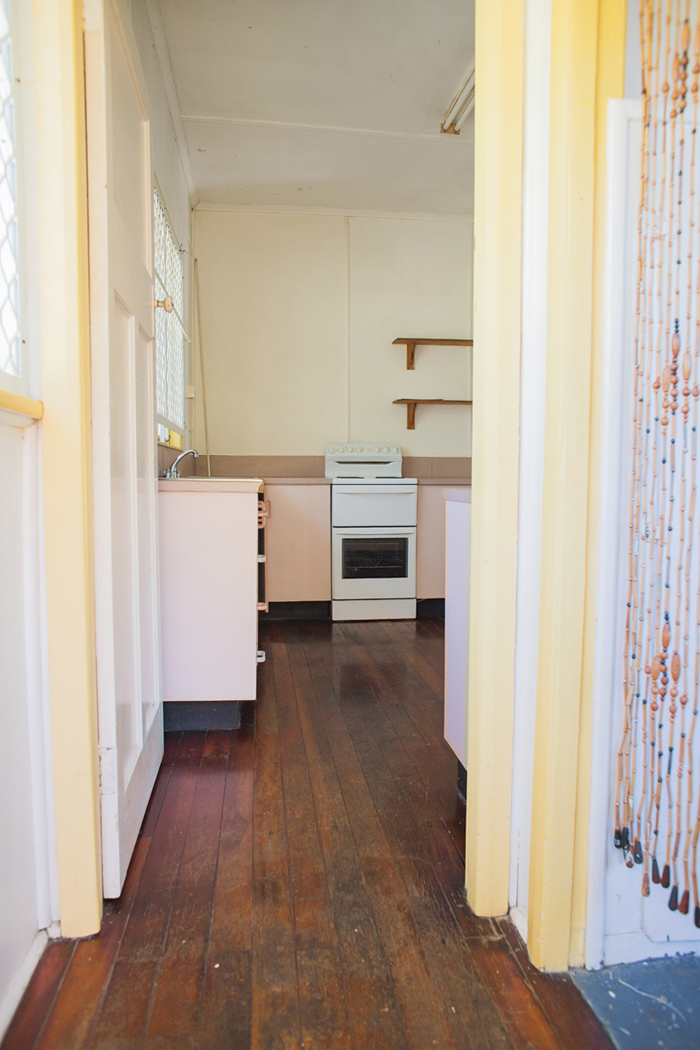
If you back out from the kitchen, you'll hit a small laundry room before exiting through the front door.
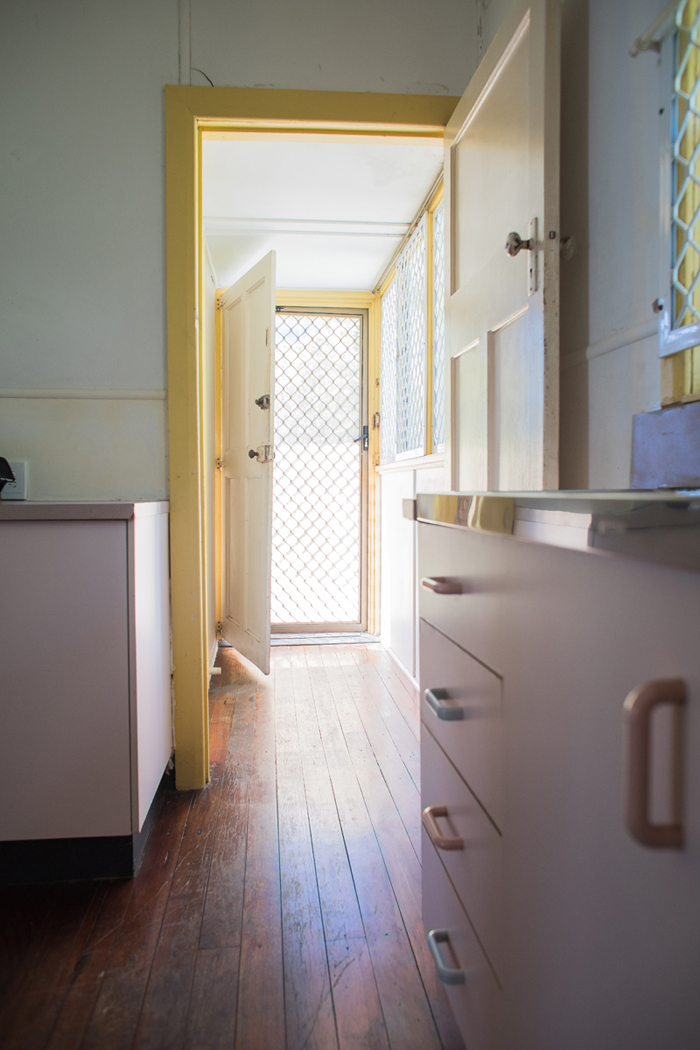
The hallway from the kitchen to the front door, with the laundry tucked away on the left. The entry hallway is the only part of the house with a low ceiling

So happy we removed these screens. A lot of people thought we were crazy to do so but we didn't want to feel like prisoners in our home.
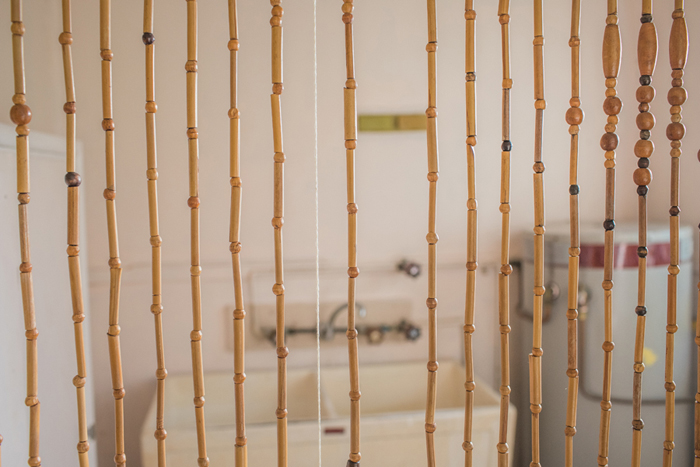
The crazy beaded curtain to the laundry. I have a fondness for it and it's still hanging up but I also have an idea to make a cute Japanese style hanging curtain with a big red dot in the centre mimicking the Japanese flag.
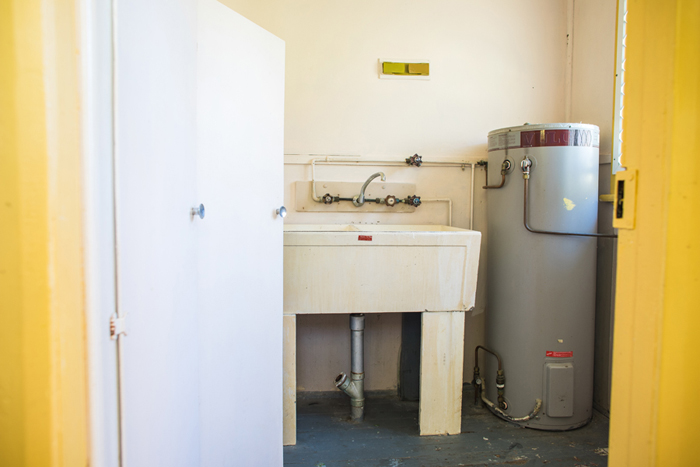
Love that cement tub, I might eventually paint it a different colour.
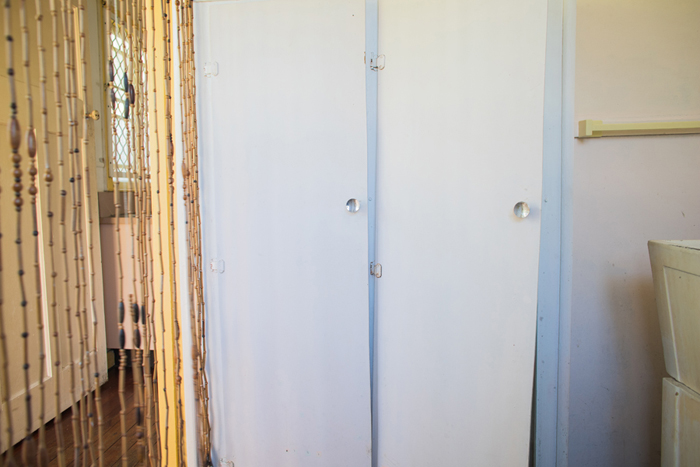
This wardrobe had a depth of around 15cm, very useless, off to the tip it went.


We did out best to sand the floor in here but without removing the tub or the hot water system it was impossible to do a perfect job. My plan, is to paint a patterned floor and seal over it.
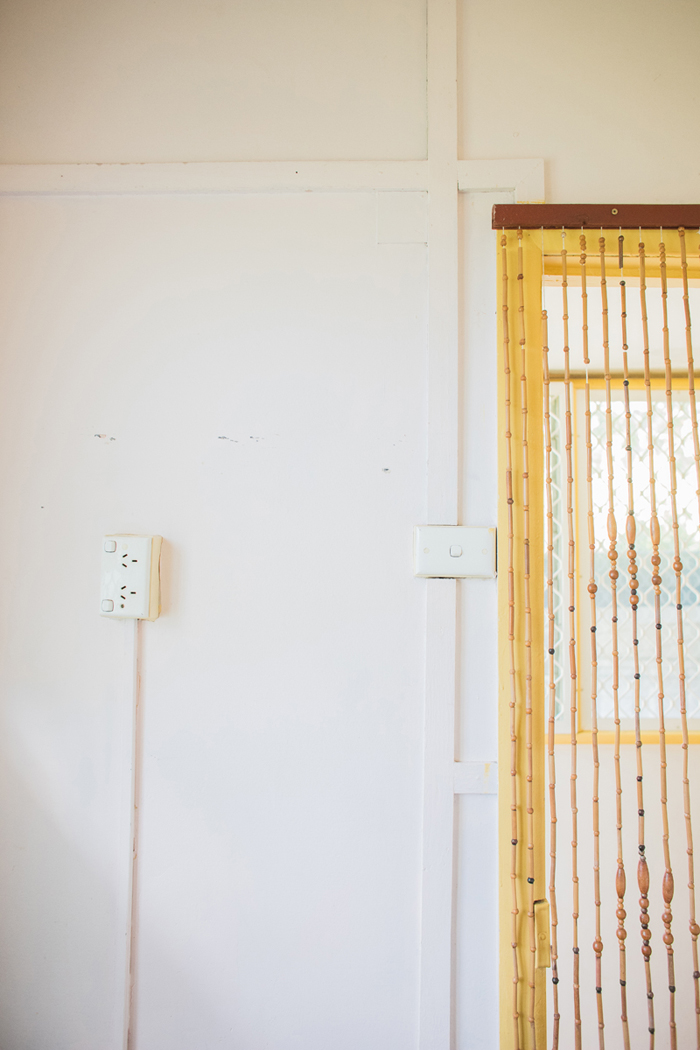
I think these photos will be fun to look back upon, when we get more of the inside reno completed.
We had a really tight budget and this house (although bottom of the barrel) was standing (tick!) and has a really nice sized block/position. When Ben and I went for our first drive-by it was love at first sight and all our visitors have mimicked our thoughts :)
Our next step it to have the house re-stumped. I was going to finish the filling and painting of the walls first but our friend mentioned that the house may shift slightly once re-stumped and any inside work could suffer from that. Must complete things in the right order!
I promise to check back with updates and take you along on this fun/mad/unknown journey. If you have any suggestions or advice or things you personally learnt on your own reno journey I would absolutely love to hear them in the comments :)
Tomorrow I'll be back with a (slightly shaky!) video walk-through of our place!
Tomorrow I'll be back with a (slightly shaky!) video walk-through of our place!

Oh Fee! I’m so happy for your new home and it’s super exciting the reno project ahead, please share it with us! I can’t wait to see how you make it your own. The house has so much potential! oh and I would also had removed the screens first ☺️ biggest hug!
ReplyDeleteIt's very very exciting! Cannot wait for it to unfold either :) :) I'll definitely be sharing!
Delete