Showing posts with label wooden stool. Show all posts

Wednesday, January 10, 2018

Goodbye Bathroom

Yesterday I shared my old room with you guys and today I wanted to share our old bathroom. Whenever someone would come over to our place, the house tour always ended with the bathroom and me saying something like "the best room in the house".

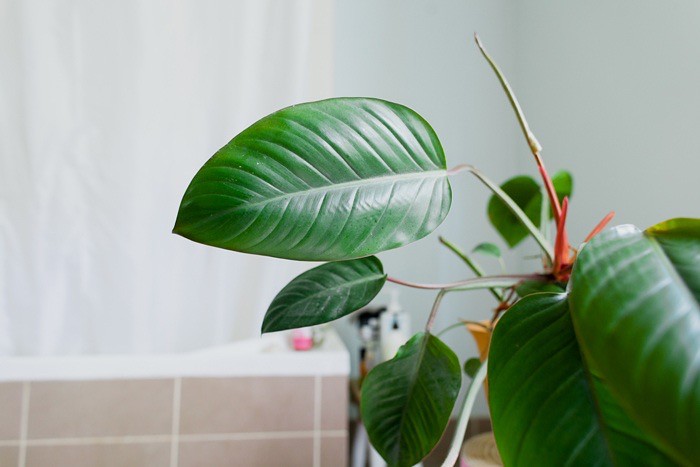
My buddy rojo Congo, who keeps thriving and thriving!

Despite some questionable colour choices, the size of the bathroom won me over! I realise this photo might not accurately show the size but I refrained from taking the opposite view as I thought I'd spare everyone a shot of the toilet :P


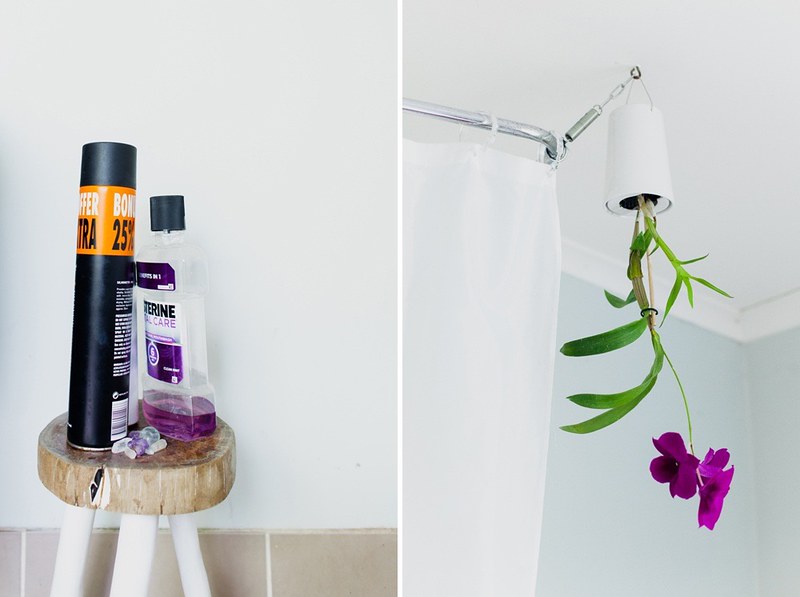
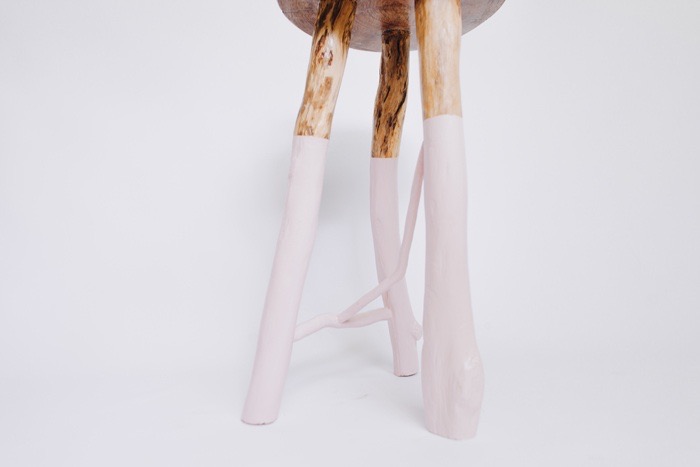
Stool game is still strong and that hairspray must have magical powers because every hairdresser at every bridal prep I've ever been to, always uses that brand - SCHWARZKOPF Silhouette :P 

The orchid (on the left) is called a moth orchid and loves it's upside down planter - a present I gifted to Ben but secretly wanted myself :p

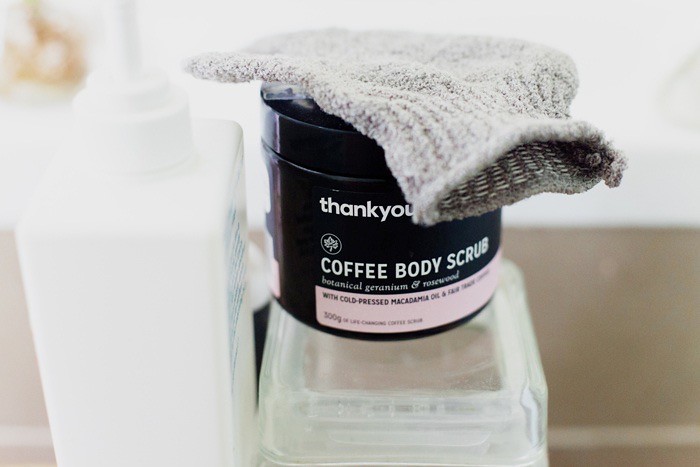
Still loving the coffee body scrub, which I've mentioned over here

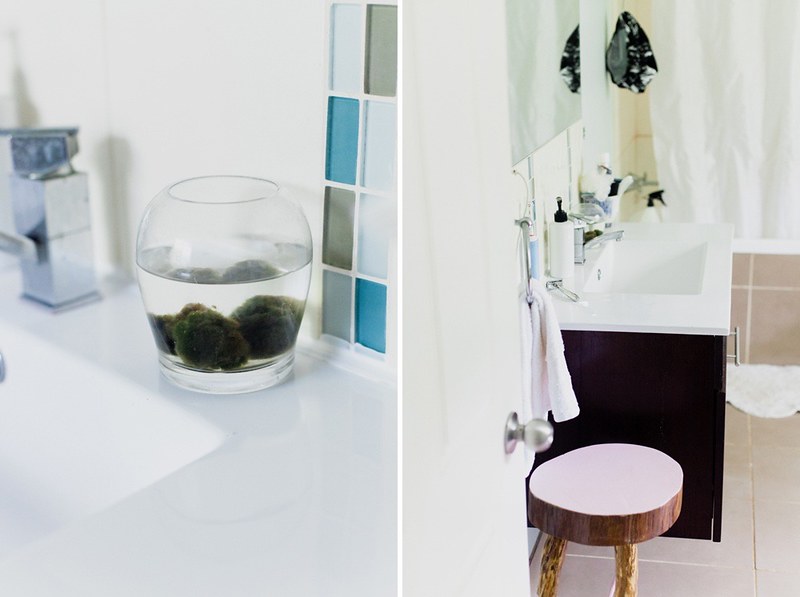
Japanese moss balls - never know if they are okay, have died or are just barely holding onto life?!?  

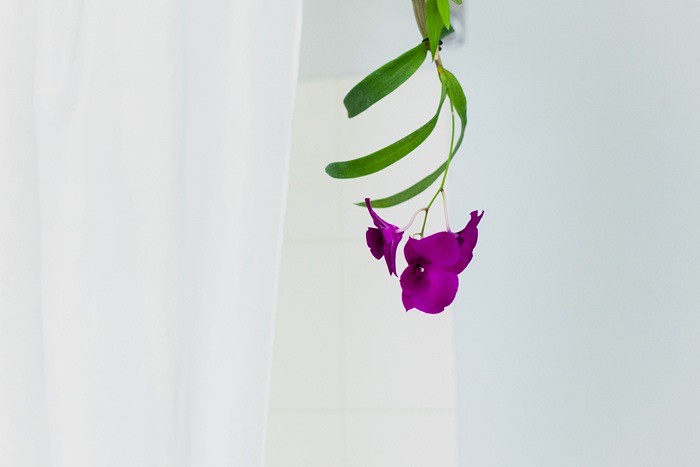
I was worried moving the orchid from a lovely humidity bathroom (with it's filtered light) to its current location in our new bedroom but it's still going great guns!

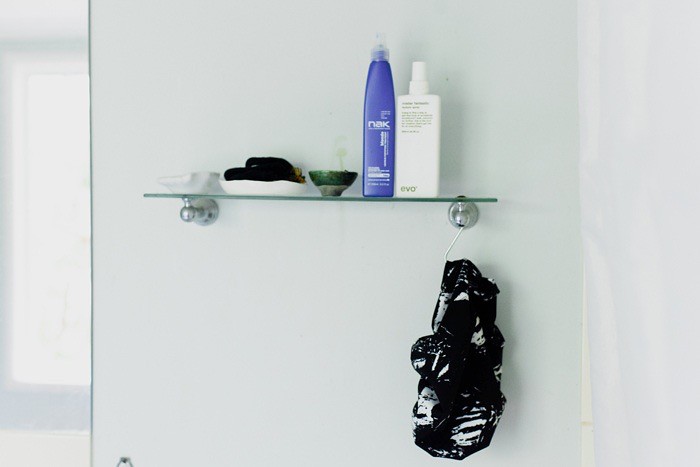
And my shhhowercap still proving to be a lovely investment :) :)

Our new bathroom unfortunately receives little to no natural light which has meant our plants have migrated to that kitchen.  At first I was sad about that prospect but now the kitchen (where I spent a lot of time) is an even happier place. I guess plants just make everything happier!
read more "Goodbye Bathroom"

Thursday, March 23, 2017

Wooden Stools Update

I thought I'd give a little stool update and talk about a new technique which has meant it's now much quicker to make a stool - hurrah!

I'm super in love with my latest stool, maybe because it's dip-dyed pink but also awesome the combo of it being wonky AND structurally sound!

Making a stool usually takes me about a week and a big component of that was drilling the leg holes into the hardwood top, well until I finally set up our drill press!

Ben got given a bunch of tools from his bro, this drill press above being one of them. At the time, I had no idea what a drill press was but they consistently came up whilst googling wood working techniques. My only hurdle - the bolts were all rusted stuck! A few hours later of me being super stubborn and not letting rust win I managed to get everything unstuck, patted myself on the back and set the drill into place. I'm not 100% sure I have it rigged up correctly but even with the current set up it was at least five times faster then hand holding the drill :)

Even though it kind of looks like a face, the main reason I took the above photo was to show the difference in the drilled out holes. The hole on the left was with the drill press and the hole on the right was me hand holding the drill. With hardwood, you can't continually drill, because you'll burn out your drill bit which meant every time I re-started drilling (with the hand hold method) I inadvertently changed angles slightly which meant the finished hole was super messy! The drill press on the other hand, makes sure the angle is always the same.

I've got a bunch of timber I've collected to make a bunch more stuff, which I'm all super excited about! On a side note, our house now has a lot of stools, an item I never knew we needed before I started making them :p
read more "Wooden Stools Update"

Friday, December 16, 2016

DIY wooden stool with Lettering

So I've sat with this particular stool for a while, before going kind of crazy with its paint job and calling it a day :) 


I tried to be diligent with taking photos of the process and it's nice to look back now and see the wood that I started with. I will point out this particular stool had legs from a previous cement stool (no longer with us!). I decided I'm only making stools of the sturdy variety so the concrete configurations had to go :p

The chunk of wood I found I was able to be cut in half for two stools!

The outer bark has to go! This part is really fun especially getting to use the chisels - also you can see here just how deep the piece of wood is :)

I ended up filling, the crack on top with sawdust (that I save whilst sawing) mixed with wood glue. I also make sure to spend a lot of time sanding back the wood so it's nice and smooth for the finished piece.

The sawing took me about a week and almost killed my love for wood working :p

The slice of wood was also very weathered so it needed both ends sawed off which added an extra week or so and yes, made me really really hate sawing :p I think it was worth it though, look how pretty the wood is underneath.

The guy on the right - so pretty!

Then it was time to mark the leg position and drill them out. Looking back at the finished piece, I think for the next stool I'll make the legs closer to the edges for aesthetic purposes :)

Note to self: always learning!

For the paint job: the legs are a black stain, the pink I picked up at a flea market and then some random hand lettering type design for the top with a clear sealer all over :)

Ta-daaa!

Ben started using the stool almost immediately as it's the perfect height for his craft bench outside, so I'm pretty chuffed about that
read more "DIY wooden stool with Lettering"

Monday, September 5, 2016

Wooden Bathroom Stool


I've been all about wood working as of late and decided to do something with a rectangle piece of weathered wood that I'd found. I also decided that we needed a bit more storage in our bathroom so the bathroom stool was born :)

I cut two pieces of timber to add reinforcement where the stool legs sat in - not sure if I needed to do this or if it was more of an aesthetic choice to the final design?!

You can see above how I nailed the planks to the weathered board below and drew some rough pencil circles where I wanted the legs to sit. Then it was just a matter of drilling out the holes with my 38mm spade bit on my drill.

The legs were just a fallen tree branch that I cut down into equal sizes and gave a rough sanding to. When I drill the holes, the circles are never perfect but that's okay because the tree branches are not perfectly round either. I aim to get the leg going into the hole fairly tightly and then if there are any gaps, like you see above, I use sawdust (saved as I'm drilling out the holes) mixed with wood glue to fill in the gaps. The drilled holes also usually determined which leg sits where as I try and get the most smug fit for all. If a leg isn't fitting, you need to drill the hole a bit wider or sand the leg to be slimmer - take everything I say with a grain of salt as well :P


A coat of white paint to the legs and a matte sealer over the whole thing and hey presto finished stool :)


If you have any tips on making stools yourself, let me know, I'm always open to new ideas or smarter ways to do things :)
read more "Wooden Bathroom Stool"